My name is Michelle and I live in Cedar Park, TX
I want to have a hydro outside garden this year.
These
are pictures that I have found on the internet and have
borrowed
for my eyes only - just until I figure out
how
to do this rig on my own. If I offended anyone by borrowing
their
pictures, then email me and I will remove them, This is just a online
journal
for myself and the cool pictures I found of your setups!
Michelle@AustinDiggers.Com
12-2009
Christmas 2009 update
Although
it was a good try.. The trough OUTSIDE in the heat with all the sun and
rain...
WEll,
I got pretty much NO crop.. Nothing drained and it was soaked for weeks
after
any
rain! Whatta bummner.. Next season I will put up a canopy to keep
most of the son
off
the plants and the rain from filling them as well!
Think
I will dump them over after the winter and dry out the medium in there
and maybe
try
some screen of sorts at the bottem to help drain the grow medium.
It
was just soaked all sumer.. Mushy marsh that just didn't drain!
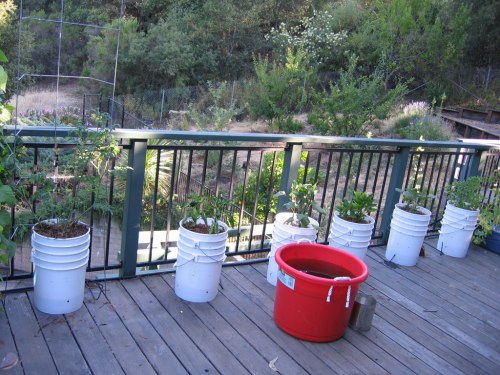
4-3-09 - THE BUILD!
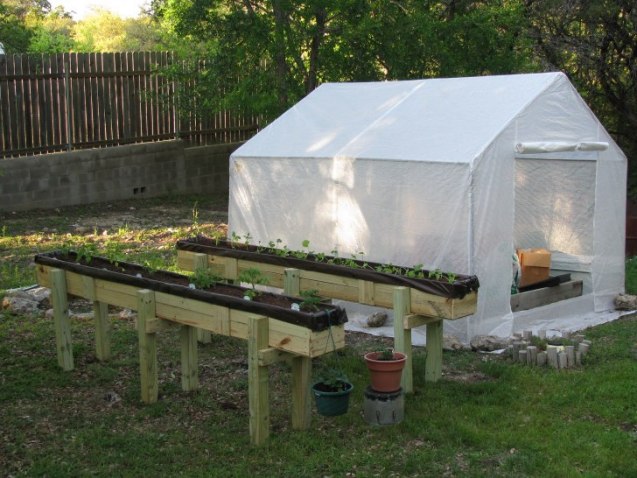

Hal
came to my rescue and came over today and build me these wonderful
trough's
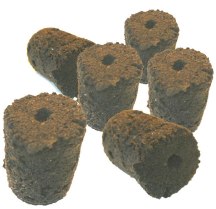
!!!! They are 100% peet moss for medium.
3ft
tall - zichini and many types of tomatoes
10
ft long and the trough's are 10 in x 10 in wide.
3-30-09
PROBLEMS
PEOPLE!!!! Need help building !!!!!
I
haven't gotten anyone to build these yet and plants arrived
at
my door step TODAY!!!!! Could use some SERIOUS
help
and fast! Looking for some ASAP help here please!
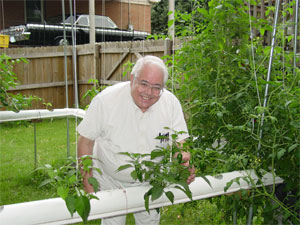
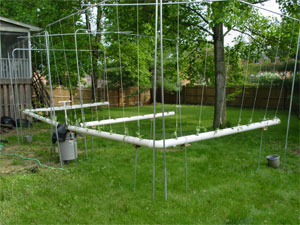
I
need (2) of these made - They are wooden trough's that I will line
with
plastic and grow the plants in OFF the ground away
from
the critters and bugs.
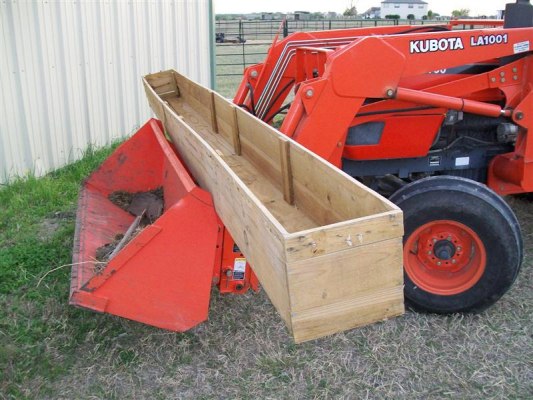
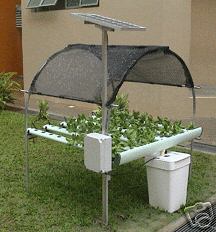
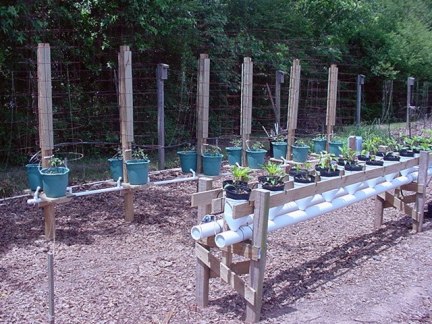
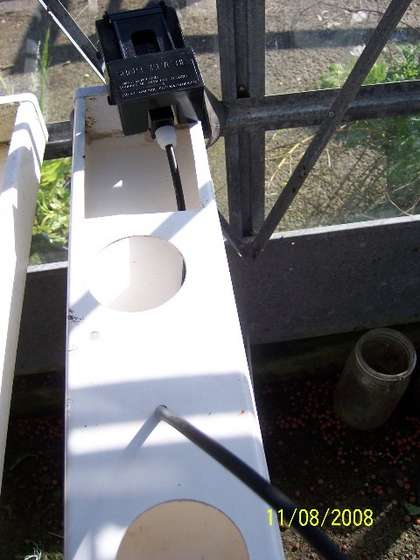
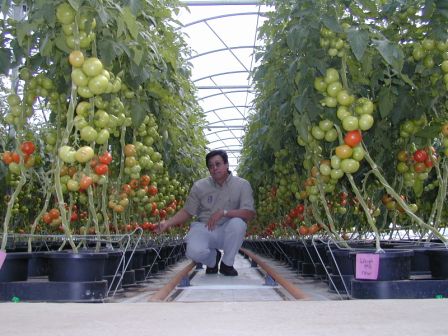
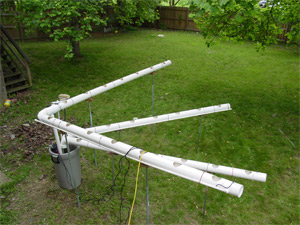
A VERY nice man sent me these pictures
of his setup and I need to make it asap.
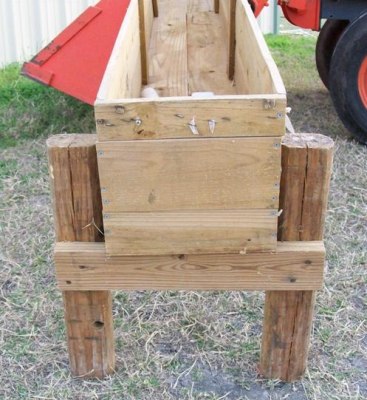
Has 3 sets of legs and are made
out of Landscape Timbers - 2x4s
The one in the picture is 14 feet
long. It took 14 1x6 x 7 feet long boards to make it.
Trough's are 10 inches deep and
10 inches wide.
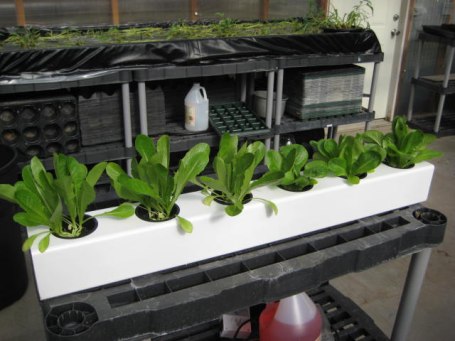
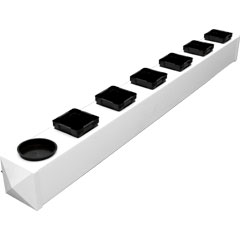
I would like 2 of these made that
are 10 ft long each and 3ft at top.
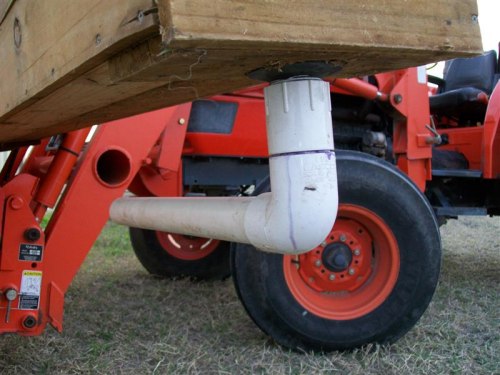

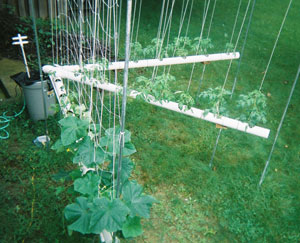
I will install a sink drain like
this one to recirculate the water
AFTER I line it with plastic ofcourse!

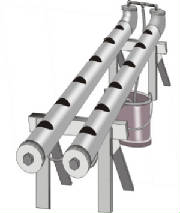
I want sorta LARGE versions of this right here with the
trough pictures above.
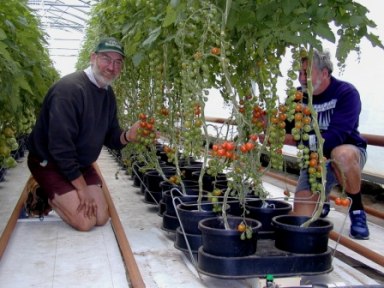
This is the small version - but I want it alot higher
off the ground.
And will put the screen addition to the top like this
one for the Zucchinis to
have something to grow onto .
I HAVE 33GALLON CAN FULL OF HYDROTON CLAY PEBBLES &
3-4 HYDRO PLANTERS IF ANYONE WANTS TO TRADE!
THE REST OF THE PAGE IS JUST MISC. PICTURES AND ME
DREAMING FOLKS - JUST OTHER ITEMS I'VE RESEARCHED!
3-30-09 - More ideas - Just found this one for the easy drip systems
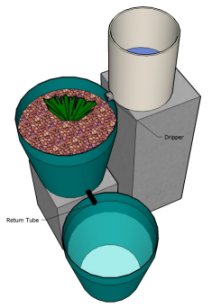
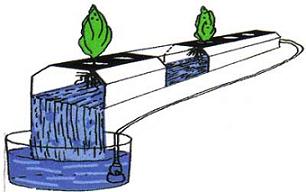
Tomato Plants in a simple hydroponic drip system. it just consists of two buckets and one container (see diagram) in the morning you fill the top bucket with nutrient this drains slowly via a dripper into the plant Pot/bucket then into the collecting Bucket at the bottom.
It takes about
10 hours to empty the top bucket then it's safe to leave overnight, in
the morning ,empty the bottom bucket back into the top and so on.
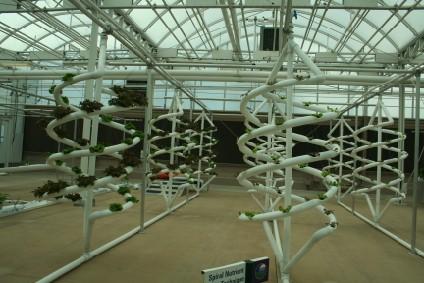
3-22-2009 -
Set my sights on this setup - Just need to know HOW do make it!
And the tomatoes growing in the first picture is wonderful and the drain
system with the bleach bottles is just killer
ANY help would be appreciated if anyone finds this page - PLease
email me directly
I would also be willing to trade ALOT of hydro bucket drippers and
a cloner
for someone to build this for me too!!! (HINT HINT)
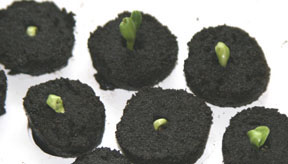
The pictures below are what I started / and killed in the kitchen -
I have bought new plants at Walmart!
I have potted some - But need to to do something FAST with the tomato
plants and REALLY need help!
Thanks
2-24-09
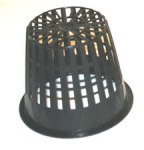
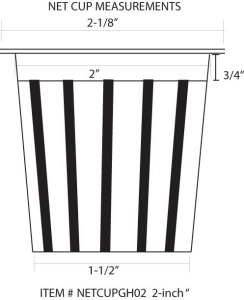
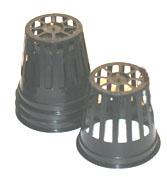
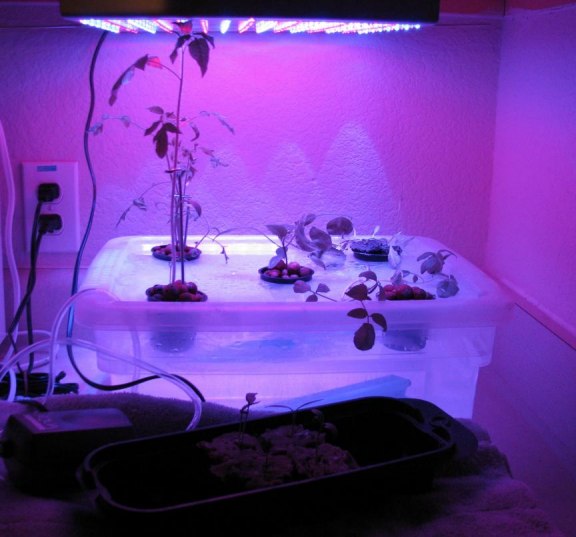
These pictures are of my little hydro setup that I made from a plastic box and small 2in net pots
1 of my tomato plants are already too tall to have under the light because of
the way I screwed the light to the under of the counter
I purchased a LED grow
light from Ebay for $25 - Warr is 10 years..
I was using regular grow
bulbs and this is ALOT better and pretty much no heat coming off it either
and I can put it darn
near right ON the plants without it hurting a thing
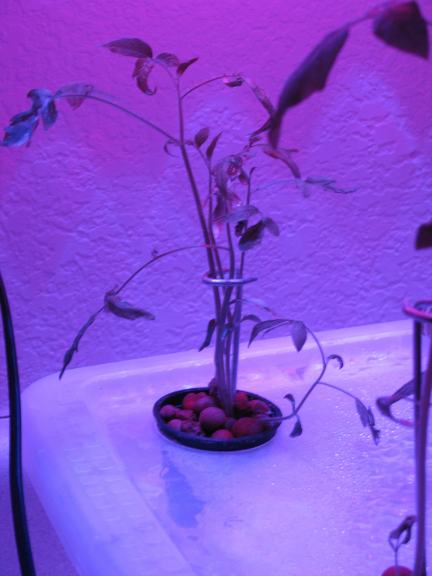
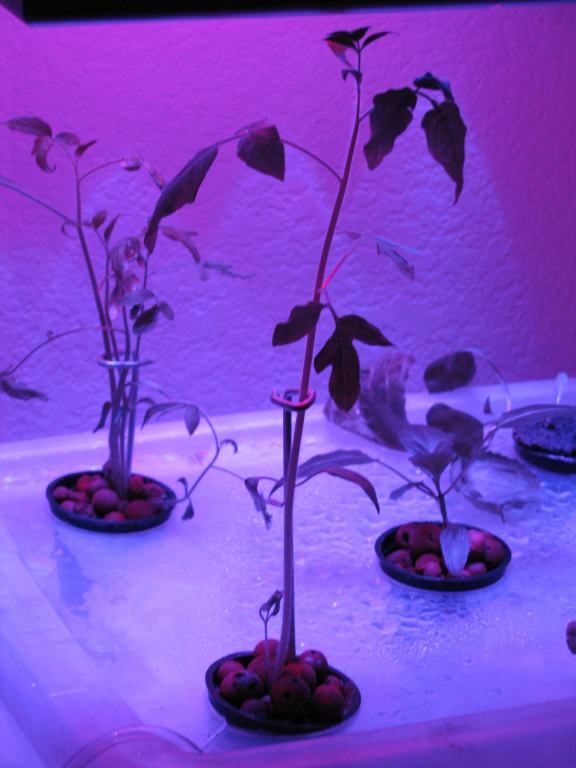
This is my little Jalapeno !
(UPDATE 3-22-09 - JAP STILL alive! Rest
pretty much cat food
bought new plants and am starting over from plants this time instead
of seeds!)
MORE HYDROPONIC PICS
The pictures below are just some hydro items that I found on the
internet and a few of my own notes ...
Its just the pictures that I was interested in .. WOW ! You are
more than welcome to take a look
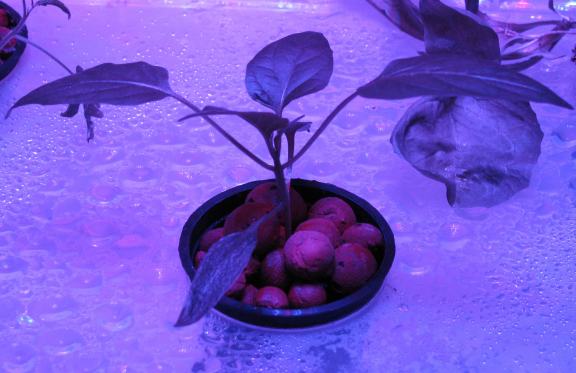
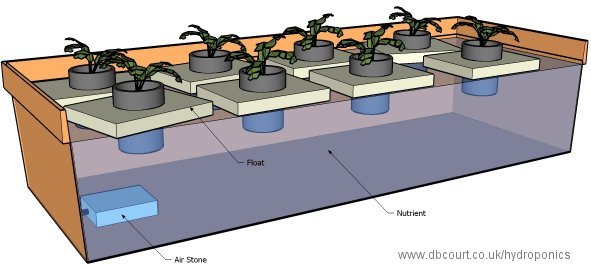
FISH TANK - FLOATING GARDEN ! GOTTA TRY IT.. the fish
will
nibble at the roots as well and the fish poop is great
for any plants!
grow some carrots in your fish tank!
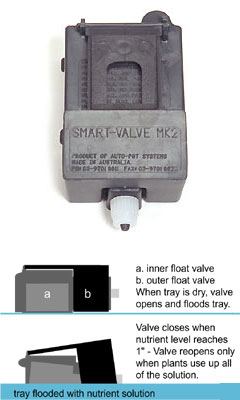
The Smart Valve - Lets in water from your reservoir
when needed.
NO power needed - Good thought for outside plants
and a
LARGE water / nutrient reservoir - like that 33 gal
blue barrel I have out back??
What about some kind of set up with a toilet flush kit???
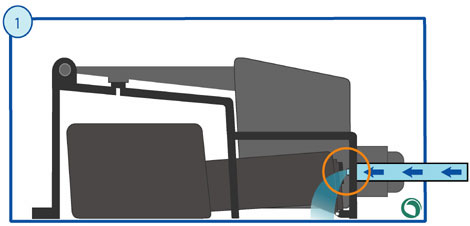
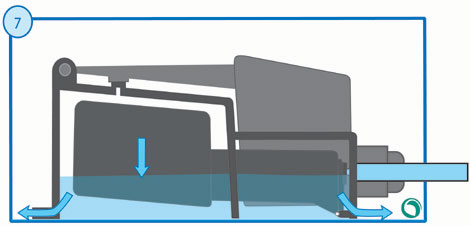
When connected to the nutrient supply (which is placed higher than
the valve therefore allowing gravity to do all the work)
the valve opens to allow nutrient solution to enter the bottom of the
growing container.
The valve then closes and will not permit further solution through
until all the original supply has been used by the plant

Check the picture to the RIGHT - Puts water in when
water is low or empty
I REALLY like this idea!!!!!
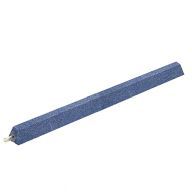
 These
people sell a tube setup with
the valve for 99.00 - 4.5 ft long
These
people sell a tube setup with
the valve for 99.00 - 4.5 ft long
Includes: Smart Valve sub irrigation module - 1 Qt. Hydro pots - Root control mats
Smart Valve $19.95
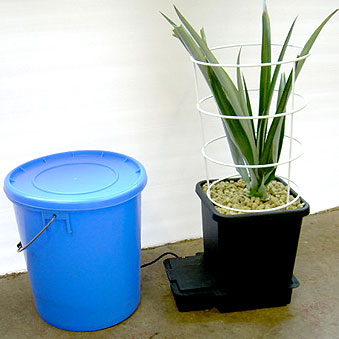
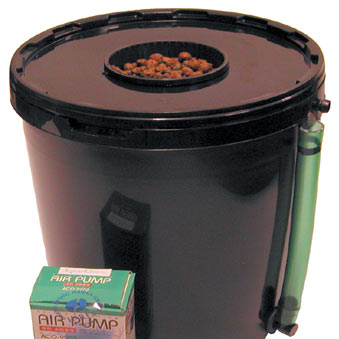
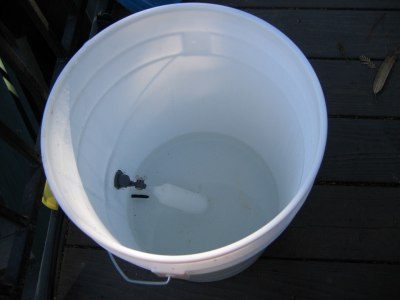
All that's needed is a 3-5gal bucket with lid and thru hull fitting
for water level tube and
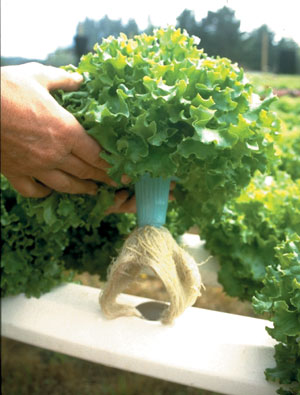
Bubbler and bubbler Stone - COuld have you eating your lettuce in no
time !
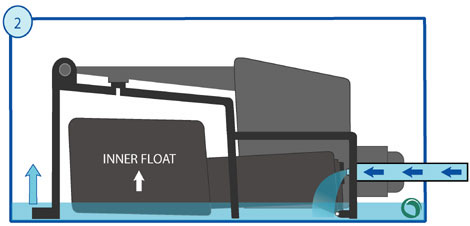
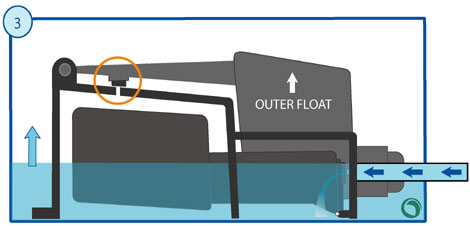
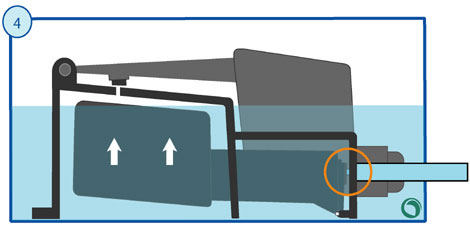
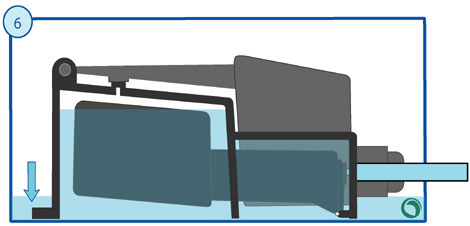
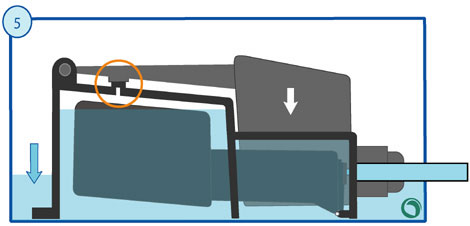
Float Valve - Feeds when valve sinks and then opens and lets water
flow in until the float
automatically closes when fill - VERY NIFTY!
THIS system is set up with the Smart Value!! CLICK
HERE to see the tomatoes from the start
Forget about the complications, complexity and problems of conventional
hydroponics systems.
Simply plant seedlings or seeds, fill the tank with water, add a measure
of nutrient and watch for the spectacular results.
The results could be on your table before you need to top up the tank
again
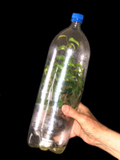
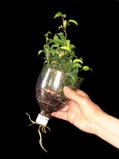
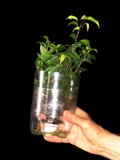
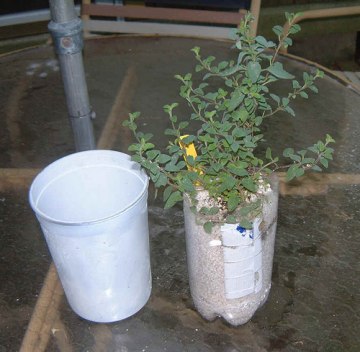
The cheapest hydroculture/hydroponic setup. 2 liter plastic pop bottle,cut off top, melt lots of holes in bottom
with soldering iron. Fill with perlite. Place in larger container. Put 1.5 in. nutrient solution
(Dyna-Gro ) in bottom of outer container. Keep water level.
End of update from 1-11-09

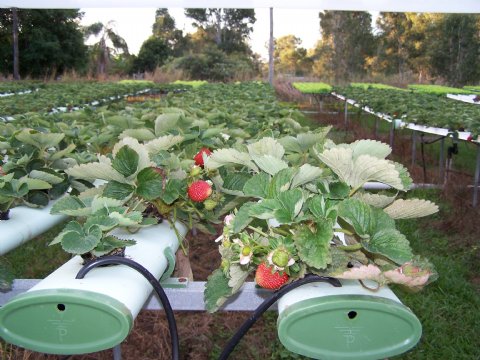
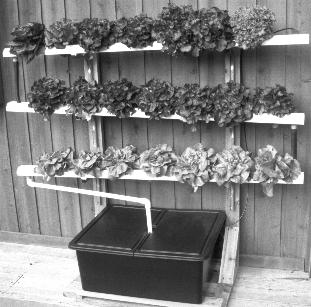
Different ones with the strawberries! I LOVE the idea on the left
!!!!! The one on the right is kinda small plants
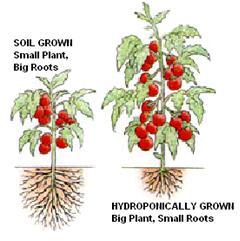
They say the roots in plants get so big because its always looking for food and the plants work to
hard and just never get enough food for the plant.... but the hydro roots don't have to get that crazy because
of the good water and food you are sending to it all the time and the plants will take right off
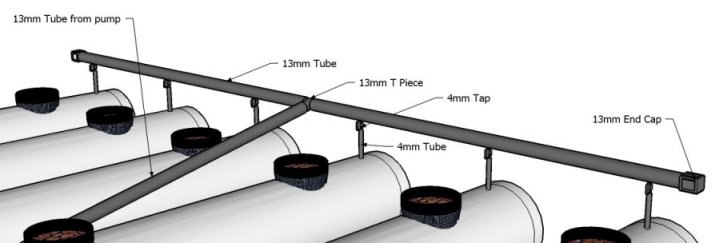
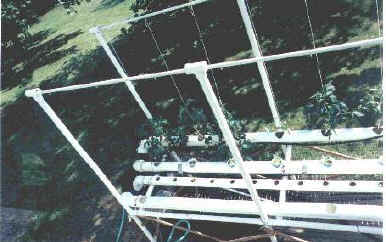
The top is how the water will feed the tubes (Similar anyway)
and the PVC pipes - beside each other in length, and can use other
pvc to make a table for it all to sit on
Pretty straight forward I think no??
I don't see the end on here where they all feed back into the water
source.. but I get the idea!
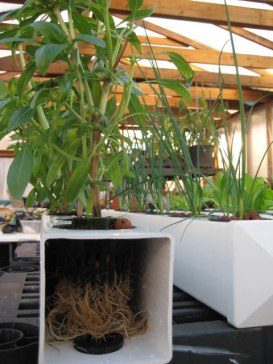
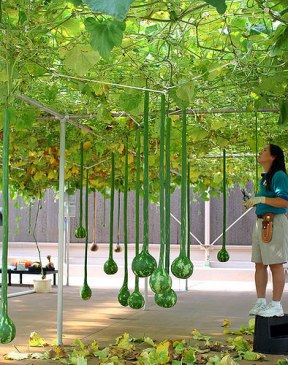
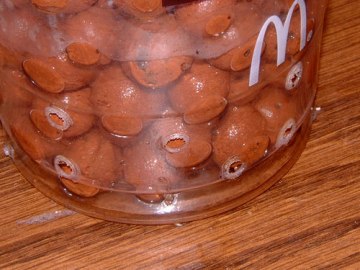
ROOTS!!!!! and CRAZY long .. well I have NO IDEA what the hell that
is growing!
Looks like crazy water melons!
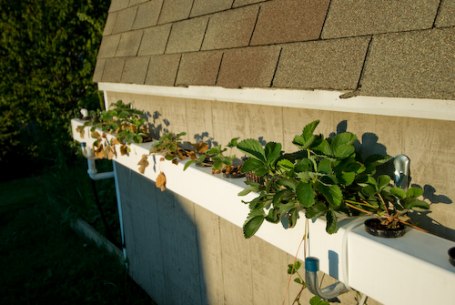
Just put on on the side of the house why doncha'!
Here are some before and after
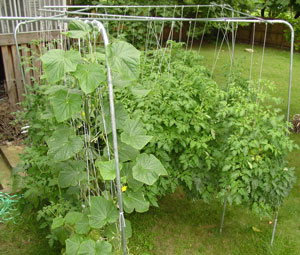

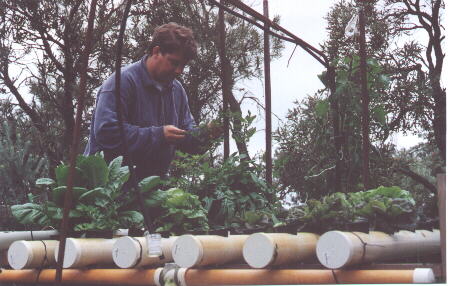
These are come cool designs - Have wire going up from each hole to
have the
plant grow up on and tie to.